Heyya! Happy Friday!
As promised, I have a tutorial for making super cute little gift card holders like the Christmas ones I made.

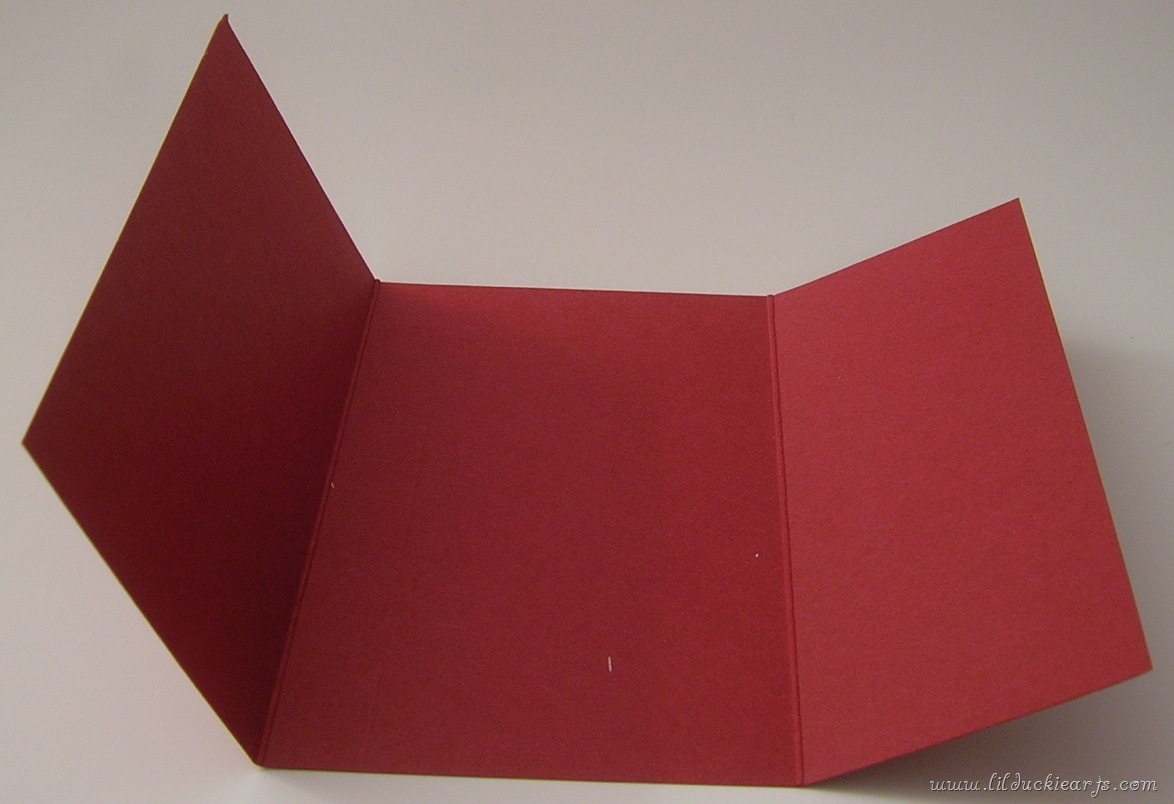
Start with a piece of cardstock measuring 6 1/2” x 4 1/2” You should be able to make 3 per regular sheet of 8 1/2 x 11” cardstock.
Score your piece at 2 1/8” and at 4 3/4”
Now go ahead and use an edge punch. I like to give them a nice scalloped edge. This is on the top, as shown.
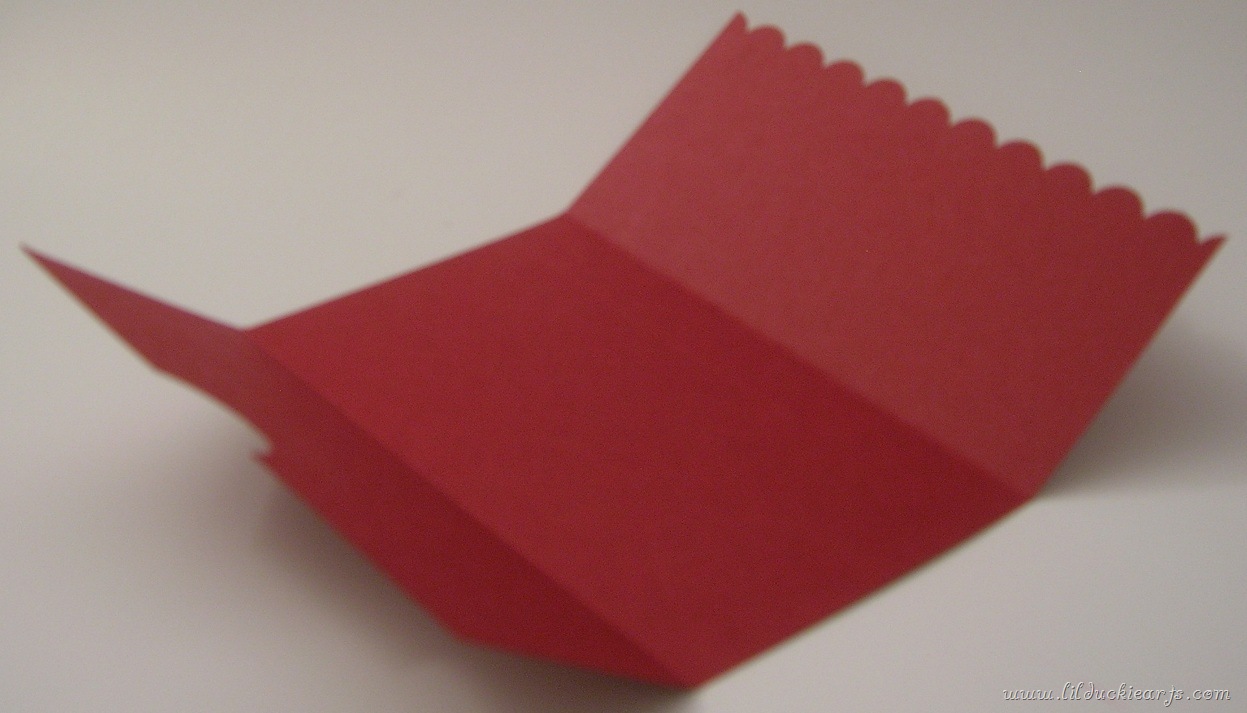
Use a 1” circle punch halfway or less into the paper to give the little circle notch at the bottom. If you like, you can first add some pretty patterned paper to the face of that piece. If you choose to do this, make the piece 1 1/2” x 4” then punch out the half-circle.
Fold the bottom up and staple at the top. Don’t staple more than once along the edges, or it will show under the front flap when your holder is closed. Make sure to staple right near the edges or your gift card won’t fit inside.
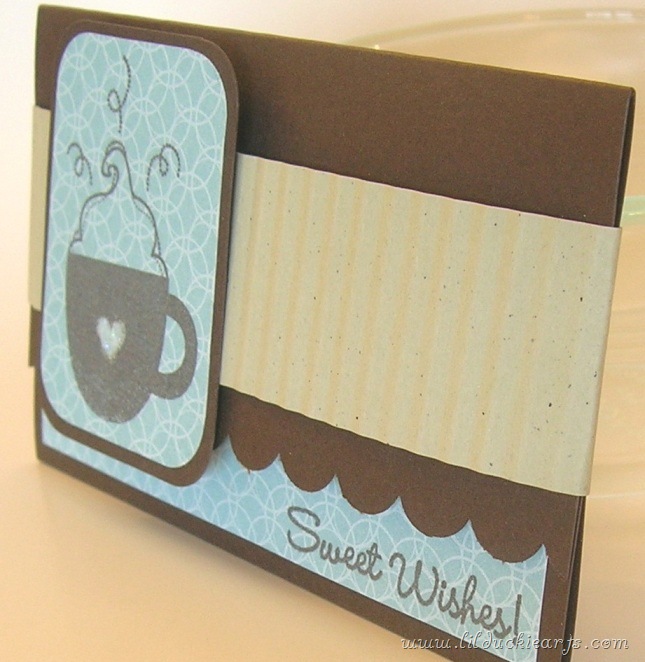
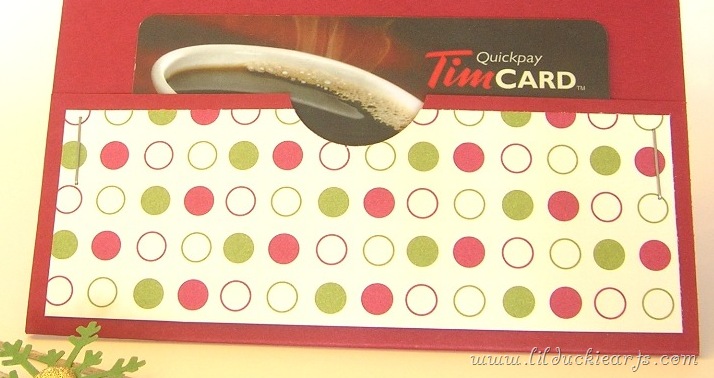
Now use either twine or cardstock to bind your little gift card holder. If you’re using twine, it needs to be at least 12” long so you can tie it up nicely. If you’re using cardstock, make sure the strip is at least 10” long. It’s pretty cute if you crimp it to look like a coffee cup cozy.
Bind it and add an embellishment or any stamping you’d like to do. Snowflakes for Christmas worked well.
Here’s the little template I made myself

Good luck making yours!

Pingback: Pack of Gift Card Holders | Lil Duckie Arts
Pingback: Gift Card Holder – A little something for Rosealee! | Mrs.D
Pingback: A Gift Card Holder – A little something for Rosealee… | Mrs.D